
Repotting houseplants can seem challenging, but knowing when and how to do it is crucial for their health. By recognizing signs of outgrowing pots and understanding the repotting process, you ensure your plants continue to thrive. This guide will walk you through everything from choosing the right pot to post-repotting care, making the process easy and rewarding.
Recognizing the Signs: When to Repot Your Houseplants
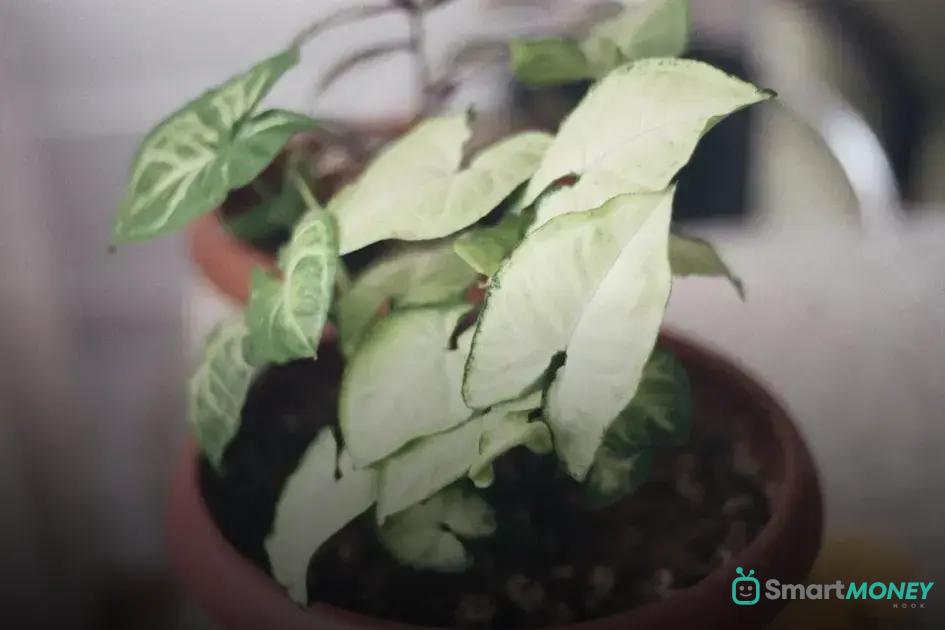
Several signs indicate it’s time to repot your houseplants. One major sign is when roots start growing through the drainage hole at the bottom of the pot. This indicates the plant is root-bound and needs more space to thrive. You might also notice that water drains too quickly through the soil, signaling that the roots are taking up all the room and pushing the soil out.
Another sign to watch for is plant growth slowing down even during the growing season. This could mean the nutrients in the soil have been depleted and need refreshing with a repotting session. Also, if your plant looks top-heavy, it might need a larger pot to support its growth.
Check for yellowing leaves or leaves that drop off without any clear reason. These can be indicators of stress from being in a pot that’s too small. A lack of flowering in plants that usually bloom might also suggest a cramped environment. If the soil itself looks compacted or pulls away from the sides of the pot, repotting can help improve soil conditions.
Examining the general health of your plants regularly can help you decide when to repot effectively. Address these signs promptly to ensure the continued health and growth of your houseplants.
Choosing the Right Pot for Healthy Growth

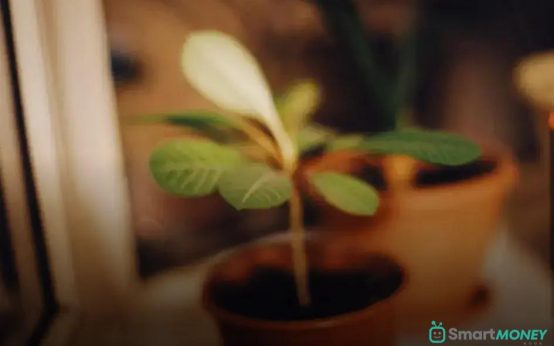
Picking the perfect pot for your houseplants is crucial for their healthy growth. Size is the first essential factor. The new pot should be about 1 to 2 inches larger in diameter than the current one for smaller plants, and 2 to 4 inches larger for bigger plants. This allows adequate room for root expansion without overwhelming the plant with too much soil, which can lead to water retention and root rot.
Drainage is another critical aspect
. Ensure the pot has at least one drainage hole to prevent waterlogging. If you find a decorative pot without a hole, consider using it as a cover pot, slipping in a functional pot with drainage inside. Material matters too; terracotta is breathable, helping to prevent overwatering, while plastic is lightweight and retains moisture longer, suitable for low-humidity environments. Lastly, consider the weight and placement of the pot. Heavier pots are stable but harder to move, while lighter ones are easy to reposition. Choose based on where you plan to place your plant and the light conditions. By selecting the right pot, you’re setting the stage for your houseplants to flourish.
A Step-by-Step Guide to Repotting Your Houseplants
- Gather Your Supplies: Collect a new pot that is 2-4 inches larger than the current one, fresh potting mix, a small trowel, and gloves. Having everything ready makes the process smoother.
- Water Your Plant: Water the houseplant a day before repotting. This helps to reduce stress on the roots and makes removing the plant easier.
- Remove the Plant Carefully: Gently turn the plant on its side and support the base. Tap the bottom of the pot to loosen the plant. Avoid pulling on the stem to prevent damage.
- Loosen and Trim the Roots: Once the plant is out, gently loosen the roots with your fingers. If there are any long, circling roots, give them a trim to encourage new growth in the new pot.
- Prepare the New Pot: Add a layer of fresh potting mix at the bottom of the new pot. This layer helps with drainage and gives the roots fresh nutrients.
- Reposition the Plant: Place the plant in the center of the new pot. Fill in around the sides with fresh potting mix, firming it gently to remove air pockets.
- Water Thoroughly: After repotting, water the plant well. Make sure the water drains out of the bottom of the pot to confirm you’ve watered adequately.
- Place the plant back in its regular spot, away from direct sunlight initially, to let it adjust to the new pot.
Repotting gives your houseplants room to grow and thrive. With these steps, your plants can enjoy fresh soil and more space without stress. Ensure each step is done gently and with care to keep your plants healthy.
Common Mistakes and How to Avoid Them

When it comes to repotting houseplants, avoiding common mistakes can make all the difference in ensuring a healthy transition. One frequent mistake is overwatering right after repotting. Newly potted plants need time for roots to establish in their new environment; excessive water can lead to root rot. Instead, water sparingly and observe the plant’s response.
Another error many plant enthusiasts make is choosing the wrong pot size. Opting for a pot that is too large can lead to water retention issues, whereas a pot that’s too small can restrict growth. Aim for a size that’s one to two inches larger in diameter than the current pot.
Many neglect the importance of proper drainage. Always ensure your new pot has adequate drainage holes to allow excess water to escape, preventing stagnant water at the roots which can cause disease.
Some forget to refresh the soil annually. Old soil can lose its nutrients, so repotting is an excellent time to replace it with fresh, nutrient-rich potting mix, suitable for your plant’s needs.
Lastly, be cautious of repotting during the wrong season. Most houseplants thrive when repotted in spring or early summer. Repotting during dormancy can stress the plant, so consider the seasonal growth patterns for best results.
Post-Repotting Care for Thriving Houseplants
After repotting, providing proper care ensures your houseplants thrive in their new environment. Watering is crucial; do not overwater. Allow the soil to dry slightly between waterings. Overwatering can lead to root rot, jeopardizing the health of your plants.
Lighting
should be appropriate for the specific plant species. While some plants thrive in bright, indirect sunlight, others prefer shadier spots. Adjust the exposure gradually to avoid shocking the plant.
Nutrient Support
is essential. However, avoid fertilizing immediately after repotting. Wait about six weeks to allow roots to settle in the new soil. Choose a balanced, water-soluble fertilizer to provide essential nutrients. Maintain the right humidity levels to support plant health. Misting the leaves or utilizing a humidifier can help maintain appropriate moisture levels, especially in dry environments.
Monitoring for pests
and diseases is vital. Repotting can sometimes stress plants, making them vulnerable. Regularly inspect their leaves and soil for signs of infestation. If any problems are detected, promptly address with suitable treatments to prevent spreading. By adhering to these care guidelines, you’re ensuring a successful post-repotting transition for your houseplants.
 How to Start a Plant Journal to Track Growth Effectively
 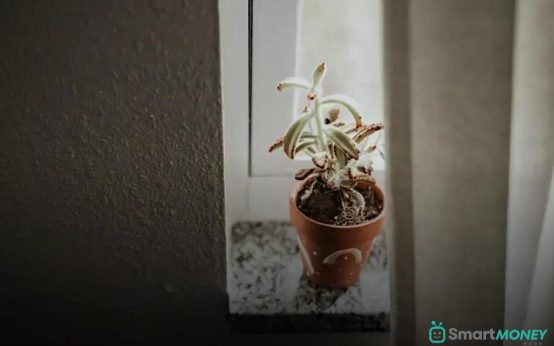 Growing Edible Plants Inside Your Kitchen: Tips & Tricks
 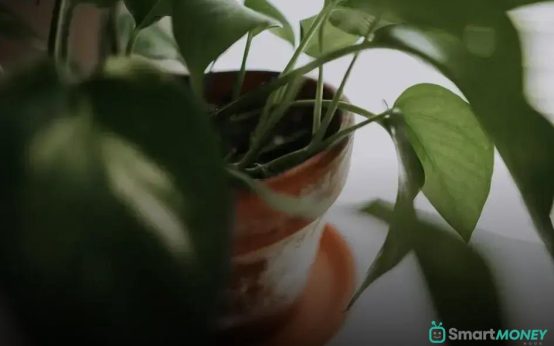 How to Rescue a Dying Houseplant: Easy Tips and Tricks